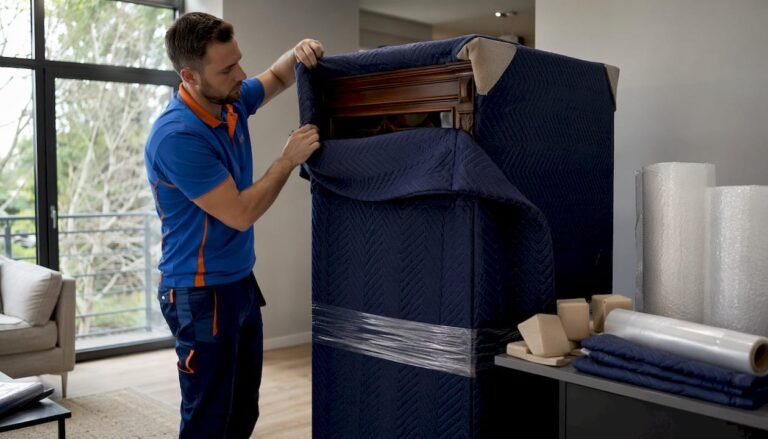
Furniture removal between tenancies is a structured process that must follow a detailed checklist to protect deposits, meet legal requirements, and prepare a property for its next occupants. Under the Renters’ Rights Act 2026, a tenancy ends legally only when the tenant vacates and the landlord regains possession, which makes furniture removal the final practical hurdle before a new tenancy can begin. Whether you are a tenant clearing out, a landlord managing turnover, or a homeowner preparing for new occupants, this furniture removal between tenancies checklist covers every step you need. Westlondonremoval supports landlords and tenants across West London with reliable, fully insured man and van services to make that final step straightforward.
1. When to schedule furniture removal between tenancies
Timing is the single most controllable factor in a smooth tenancy transition. Book removal services 2–3 weeks ahead of your move-out date to avoid end-of-month peaks when vans and crews are fully booked. Late scheduling forces last-minute decisions that delay handover, risk deposit deductions, and leave landlords with an empty property generating no income.
The ideal sequence is to complete furniture removal 1–2 days before the lease end, then follow immediately with a professional clean. Scheduling removal and cleaning in this tight window gives you time to address any missed items before the final inspection without leaving the property vacant for longer than necessary.
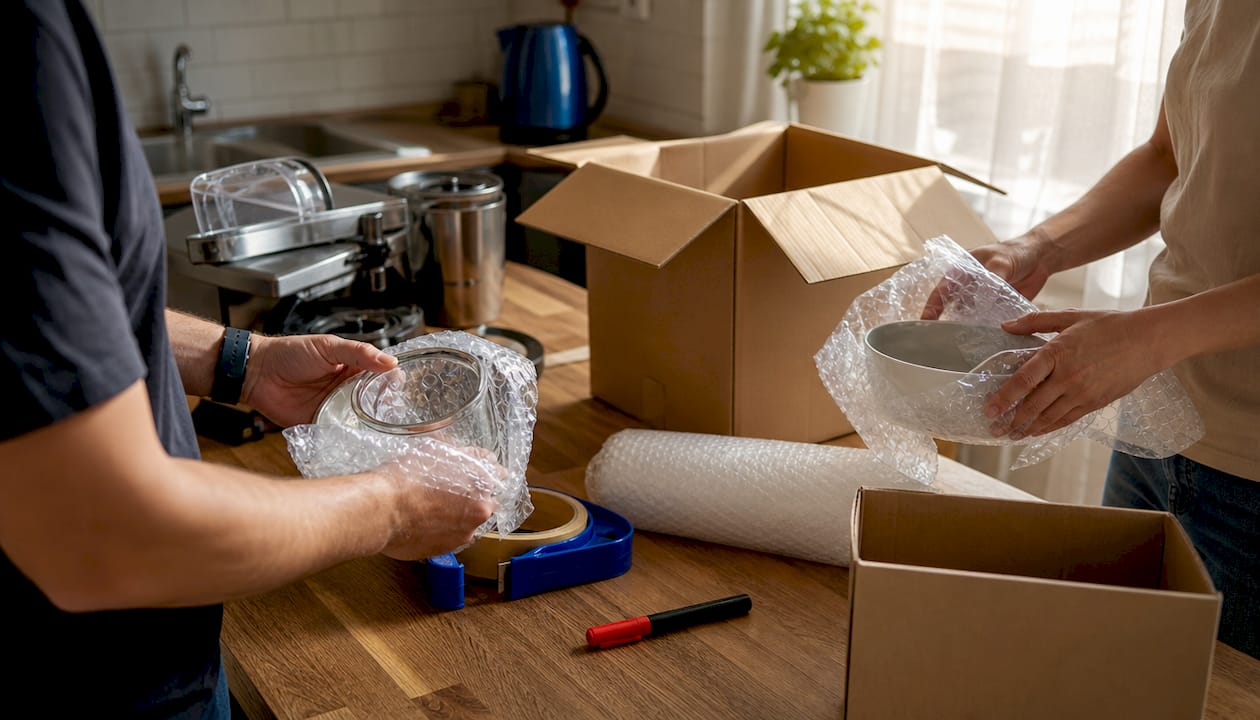
Pro Tip: Book your removal slot on a Tuesday or Wednesday. Demand drops mid-week, giving you more choice of time slots and often a better rate.
Key scheduling steps
- Confirm your tenancy end date in writing with your landlord or letting agent.
- Book a removal service 2–3 weeks before that date.
- Schedule professional cleaning for the day after furniture removal.
- Arrange a final inspection 24–48 hours before the lease expires.
- Confirm key return arrangements with the landlord in advance.
2. Step-by-step furniture removal checklist for move-out
A thorough between tenancy clearance checklist prevents the small oversights that cost tenants their deposits and delay landlords’ re-letting timelines. Work through each stage methodically rather than room by room, as this reduces the chance of leaving items behind.
- Photograph every room before you begin. Timestamped photos document the property’s condition and protect both parties.
- Disassemble large furniture such as bed frames, wardrobes, and flat-pack shelving before the removal team arrives. This speeds up loading and reduces the risk of damage to door frames and walls.
- Label boxes and furniture clearly with the destination room or “donate,” “store,” or “dispose” to avoid confusion on the day.
- Remove all items from lofts, garages, and outbuildings. These spaces are frequently forgotten and are always checked during inspection.
- Check all built-in storage. Empty every cupboard, drawer, and shelf, including kitchen units and bathroom cabinets.
- Arrange proper disposal for unwanted furniture. Charity collections, council bulky waste services, and licensed clearance firms are all valid options.
- Coordinate access with your removal team and landlord so the property is accessible without delays.
- Confirm complete clearance by walking every room, opening every door, and checking every storage space before handing over keys.
Pro Tip: Take a short video walkthrough of the empty property immediately after clearance. A video is harder to dispute than individual photos and takes less than five minutes.
3. Legal requirements and landlord property clearance checklist
Landlords face specific legal obligations when tenants leave items behind. Disposing of abandoned goods immediately is a common mistake that can result in legal penalties. The correct process protects landlords from claims of unlawful disposal.
The Renters’ Rights Act changed how possession works, so landlords must follow updated protocols carefully. Waste from rental properties is classified as commercial waste, which means landlords must use licensed waste carriers and keep Waste Transfer Notes for at least 2 years. Failure to do so risks fines for fly-tipping, even when the landlord acted in good faith.
Landlord clearance checklist
- Issue written notice to the former tenant for any items left behind. Allow 14–21 days for collection before arranging disposal.
- Document abandoned items with photographs before moving or disposing of anything.
- Use only licensed waste carriers for all clearance work. Verify their Environment Agency registration before booking.
- Retain Waste Transfer Notes for a minimum of 2 years as proof of lawful disposal.
- Take 50–75 timestamped photos of the property after clearance to support deposit claims and document its condition accurately.
- Check all rooms, outbuildings, and communal areas for remaining items before signing off the clearance.
- Record meter readings on the day of clearance and photograph them.
The requirement to document with 50–75 timestamped photos may seem excessive, but deposit adjudicators rely heavily on photographic evidence. A thorough photo record is the most effective defence against disputed claims.
| Landlord obligation | Requirement |
|---|---|
| Written notice for abandoned items | Issue before any disposal; allow 14–21 days |
| Waste carrier licence | Mandatory for all clearance waste |
| Waste Transfer Note retention | Minimum 2 years |
| Property documentation | 50–75 timestamped photos post-clearance |
| Possession under Renters’ Rights Act | Legal end only upon tenant vacating and landlord regaining possession |
4. Cleaning and inspection checklist after furniture removal
Cleaning efficiency depends entirely on completing furniture removal first. Leftover furniture blocks floor corners, the space behind sofas, and the areas under beds, which are precisely the spots landlords check most carefully for deposit deductions. Attempting to clean around furniture always results in missed areas.
Over 50% of tenancy deposit disputes arise from poor cleanliness. That figure makes a thorough post-removal clean the single highest-return task in any end of tenancy clearance checklist.
Cleaning sequence after furniture removal
- Vacuum and mop all floors once furniture is out, paying attention to corners and skirting boards.
- Clean the kitchen thoroughly. Degrease the oven, hob, extractor fan, and all cupboard interiors.
- Descale and disinfect bathrooms. Taps, shower screens, tiles, and toilet cisterns are all inspection points.
- Clean all windows inside and out where accessible. Landlords routinely note dirty windows on inspection reports.
- Shampoo or steam-clean carpets if they show staining or heavy wear.
- Wipe all walls and skirting boards for scuffs and marks.
- Clear and clean the garden or yard if included in the tenancy.
Pro Tip: Book a professional end-of-tenancy clean rather than a standard domestic clean. Professional cleaners follow landlord inspection checklists and are more likely to meet the standard required for full deposit return.
Schedule cleaning 1–2 days before the tenancy end date. This timing gives you a buffer to address anything the cleaner flags without missing the handover deadline.
5. Handling end-of-tenancy waste types correctly
End of tenancy waste types fall into distinct categories, and each requires a different disposal route. Mixing them up leads to rejected collections, extra costs, and potential legal issues for landlords.
General household waste such as packaging, food items, and small broken goods goes through standard council collections or licensed waste carriers. Bulky furniture including sofas, mattresses, and wardrobes requires a separate bulky waste collection or a licensed clearance service. Electrical items (fridges, washing machines, televisions) are classified as WEEE waste and must go to an approved recycling point or be collected by a registered carrier. Hazardous materials such as paint, solvents, and batteries need specialist disposal and cannot go in standard skips or general waste collections.
Landlords who mix these categories and use unlicensed disposal risk fines under the Environmental Protection Act 1990. Using a single licensed clearance service that handles all waste types is the most reliable way to stay compliant.
Key takeaways
A successful furniture removal between tenancies checklist combines early scheduling, thorough clearance, legal compliance, and systematic cleaning to protect deposits and meet UK tenancy law.
| Point | Details |
|---|---|
| Book early | Secure removal services 2–3 weeks ahead to avoid peak-period shortages. |
| Remove before cleaning | Furniture must be fully cleared before cleaning begins to avoid missed areas. |
| Follow legal notice periods | Landlords must give 14–21 days written notice before disposing of abandoned items. |
| Document everything | Take 50–75 timestamped photos post-clearance to support deposit claims and legal compliance. |
| Use licensed waste carriers | All tenancy clearance waste is commercial; unlicensed disposal risks fly-tipping fines. |
What I have learned from years of tenancy transitions
The most common mistake I see is tenants and landlords treating furniture removal and cleaning as one job rather than two separate, sequenced tasks. Cleaning around furniture is not cleaning. It is a way to guarantee a deposit dispute.
The second most overlooked step is the joint walkthrough 7–14 days before lease end. This inspection gives tenants time to fix minor issues before they become deductions, and gives landlords a documented baseline. Most disputes I have seen could have been avoided entirely with a single pre-move-out walkthrough and a shared photo record.
Early communication between tenant and landlord is not just courteous. It is the most practical thing either party can do. Agreeing on removal dates, inspection times, and key return arrangements in writing removes ambiguity and protects both sides. A brief email chain is worth more than any verbal agreement when a deposit adjudicator is involved.
My honest advice on professional service selection: choose a removal firm that is fully insured and transparent about pricing before the job begins. Vague quotes lead to surprises on the day, and surprises on moving day create stress that ripples through every other task on your checklist. Ask for a written quote, confirm what is included, and check that the firm carries public liability insurance.
— London
Westlondonremoval: reliable furniture removal for tenancy transitions
Planning a property clearance in West London does not need to be stressful. Westlondonremoval provides fully insured man and van services across West London, with flexible booking and transparent pricing to fit around your tenancy end date.

Whether you need a single sofa collected or a full property cleared, our team handles furniture removal efficiently and on time. We cover areas including Hammersmith and Fulham, Kensington and Chelsea, Ealing, and beyond. For cost-effective, same-day availability and a team that understands the pressures of tenancy deadlines, book your affordable man and van service with Westlondonremoval today and get a clear, honest quote before we arrive.
FAQ
What does between tenancy clearance mean?
Between tenancy clearance is the process of removing all furniture, waste, and personal items from a rental property after one tenant leaves and before the next moves in. It covers furniture removal, waste disposal, and cleaning to return the property to a lettable condition.
How far ahead should I book furniture removal between tenancies?
Book removal services at least 2–3 weeks before your tenancy end date. End-of-month periods are the busiest, and late bookings often result in unavailable slots or higher costs.
What are the main end-of-tenancy waste types landlords must handle?
Landlords must manage general household waste, bulky furniture, WEEE electrical items, and hazardous materials separately. All waste from rental properties is classified as commercial waste, requiring licensed carriers and Waste Transfer Notes retained for at least 2 years.
Can a landlord dispose of items a tenant leaves behind immediately?
No. Landlords must issue written notice and allow 14–21 days for the former tenant to collect abandoned items before arranging lawful disposal. Immediate disposal risks legal penalties under UK law.
Why do most deposit disputes relate to cleanliness?
Over 50% of deposit disputes cite poor cleanliness as the primary cause. Cleaning after furniture removal, rather than around it, is the most effective way to meet the standard landlords and deposit adjudicators expect.