
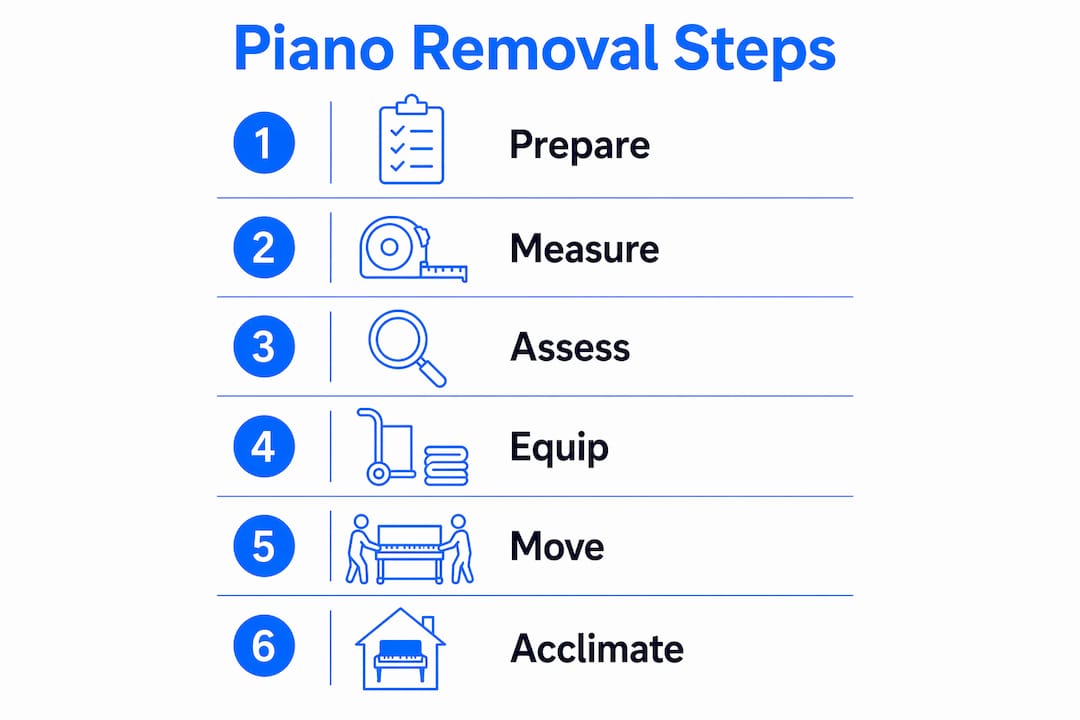
Piano removal is a specialised process that demands precise measurement, a coordinated team, and professional-grade equipment to protect both the instrument and your property. Unlike standard furniture, a piano combines extreme weight, a delicate finish, and complex internal mechanics that can be damaged by a single wrong move. Understanding how piano removal works before your move gives you the confidence to plan properly and avoid costly mistakes. This guide covers every stage of the piano moving process, from preparation and disassembly through to transport and post-move acclimation.
How does piano removal work? The preparation stage
The piano moving process begins long before anyone lifts the instrument. Thorough preparation is the single biggest factor in preventing damage to the piano and your home.
The first task is accurate measurement. Standard interior doorways are 30–32 inches wide, and an upright piano is approximately 24 inches deep. That clearance is tight, and hallways or staircase landings can be even more restrictive. Measure every doorway, corridor, and staircase along the planned route before the team arrives.
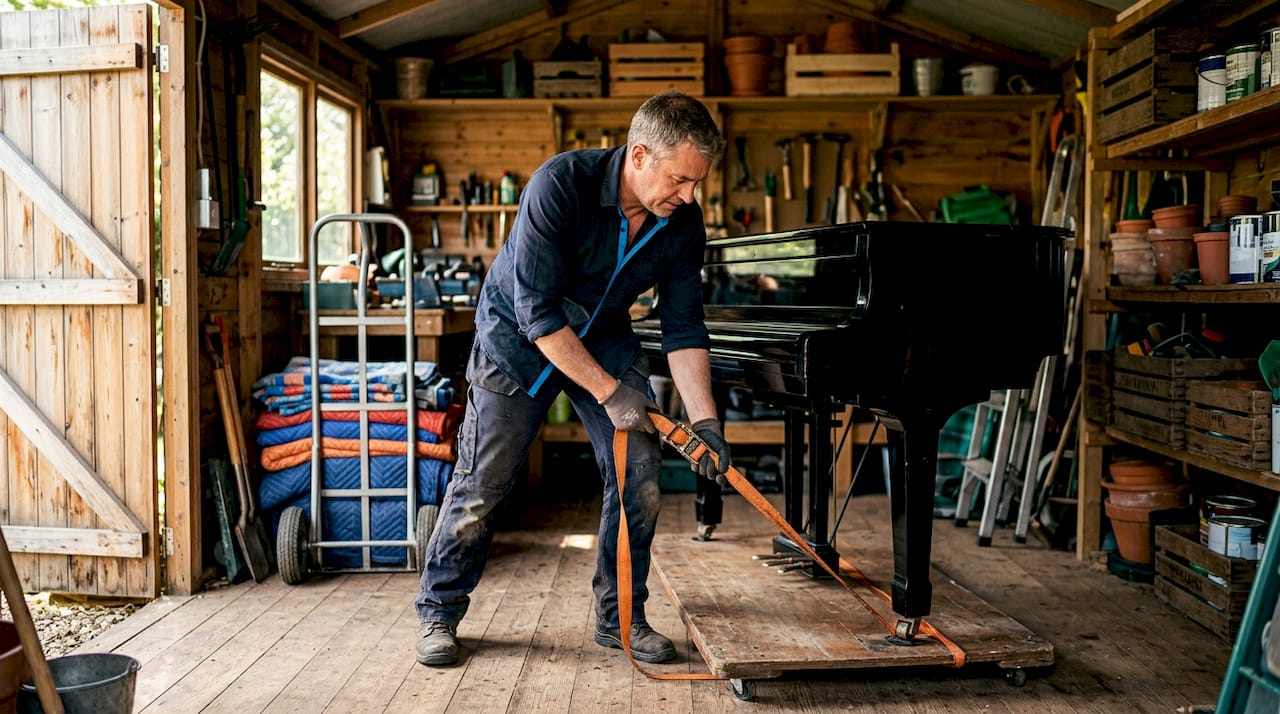
Before moving day, remove all detachable accessories from the piano. This includes the lid, music rack, and pedal assembly. Removing these parts reduces the overall bulk and protects fragile components from knocks during transit.
Clearing the path is equally critical. Remove rugs, furniture, and any obstacles between the piano’s current position and the removal vehicle. A clear, unobstructed route reduces the risk of trips and allows the team to maintain control throughout.
- Measure all doorways, hallways, and staircases along the route
- Remove the lid, music rack, and pedal lyre before the move
- Clear the full path of rugs, furniture, and loose items
- Confirm the removal vehicle can park close to the property entrance
- Check staircase banisters for clearance on both sides
Pro Tip: Take photographs of the route before the team arrives. Share these with your removal company so they can identify any tight spots and bring the right equipment on the day.
A pre-move assessment walkthrough by the removal team, typically lasting 15–20 minutes, is the step most likely to prevent damage and should never be skipped. This walkthrough identifies hidden obstacles such as low ceilings on staircase turns or narrow skirting boards that reduce effective clearance.
How many people and what equipment does piano removal require?
Team size is not a matter of preference. It is a safety requirement determined by the type of piano being moved.
Moving an upright piano safely requires a minimum of four people. A grand piano requires five to six people due to its greater weight and the complexity of leg removal. Attempting either with fewer people significantly increases the risk of injury and instrument damage.
Equipment for upright pianos
An upright piano moves on a piano board, a flat, reinforced board that supports the full base of the instrument. A piano dolly, sometimes called an H-dolly, fits beneath the board and allows the team to roll the piano across flat surfaces. Heavy-duty ratchet straps secure the piano to the board, preventing any shift during movement.
Equipment for grand pianos
Grand pianos require additional tools. Specialised equipment including stair-climbing dollies, piano boards, and climate-controlled transport vehicles is standard for professional grand piano moves. A stair-climbing dolly uses a motorised or lever mechanism to descend steps one at a time without manual lifting, which is critical given the weight involved.
| Piano type | Minimum team size | Key equipment |
|---|---|---|
| Upright piano | 4 people | Piano board, H-dolly, ratchet straps, moving blankets |
| Grand piano | 5–6 people | Piano board, stair-climbing dolly, ratchet straps, climate-controlled van |
Moving blankets are non-negotiable for both types. They protect the finish during transit and act as a buffer against wall and doorframe contact during manoeuvring.
Pro Tip: Always confirm that your removal company carries public liability insurance. Piano moves carry a higher risk of property damage than standard furniture, and you need that protection in writing before the team starts.
DIY piano removal is genuinely risky, particularly for grand pianos. The centre of gravity in a grand, driven by a heavy cast-iron plate, can cause the instrument to tip suddenly during leg removal if fewer than three people are supporting it simultaneously. That is not a risk worth taking.
What is the step-by-step process for safely removing a piano?
The piano relocation process follows a clear sequence. Deviating from this order increases the chance of damage at every stage.
- Photograph the piano before disassembly. Take photos before disassembly so you have a clear reference for reassembling legs, pedals, and other components at the destination.
- Disassemble carefully. Safe disassembly of the pedal lyre, music rack, and legs requires training. Each component should be removed in the correct order and wrapped individually before being placed in the van.
- Wrap the piano body. Cover the entire instrument in moving blankets. Never apply tape directly to the piano’s finish. Secure the blankets with ratchet straps or stretch wrap, keeping all contact away from the wood surface.
- Position the piano board and dolly. Tilt the piano carefully onto the board with the team supporting all sides. Strap it firmly before any movement begins.
- Move through the cleared route. Roll the dolly slowly and steadily. One person leads, one person steers from behind, and the remaining team members manage doorframes and corners.
- Handle stairs one step at a time. Use a stair-climbing dolly where available. One team member acts as a spotter at all times, watching for obstacles and calling out each step.
- Load into the vehicle. Use a loading ramp rather than lifting the piano into the van. Secure the instrument with straps against the van wall. Grand pianos must never be laid flat during transport, as this risks serious internal damage. Move them upright or slightly tilted on a specialised piano board.
- Unload and reassemble. Reverse the disassembly process at the destination. Use your photographs as a guide. Reassemble legs and pedals before removing the blankets.
The house moving checklist for West London residents covers how to coordinate specialist item moves like pianos within a broader removal plan, which is worth reviewing before your moving day.
What risks exist if piano removal is done incorrectly?
Incorrect piano removal causes two categories of harm: damage to the instrument and injury to the people moving it.
A piano’s finish is lacquered wood. Tape, rough contact with doorframes, or an unsecured blanket can scratch or chip that surface permanently. Internal damage is harder to see but more costly to repair. Dropping or tipping the instrument can crack the soundboard, break strings, or shift the cast-iron plate, all of which require specialist restoration.
Personal injury is the other serious risk. An upright piano typically weighs between 180 and 270 kilograms. A grand piano can exceed 450 kilograms. Back injuries, crushed fingers, and foot injuries are common outcomes of under-resourced DIY moves.
The most common mistakes in amateur piano removal are:
- Using too few people for the weight involved
- Skipping the route measurement and assessment phase
- Applying tape directly to the piano’s finish
- Failing to use a dolly and attempting to carry the piano by hand
- Not securing the instrument inside the van before driving
“The initial assessment walk-through is the step most likely to prevent damage and should never be skipped or rushed. A professional team identifies clearance problems in minutes that an untrained mover would only discover mid-move, at far greater cost.”
Pro Tip: Ask your removal company whether their staff have specific piano moving experience, not just general furniture removal. The difference between a specialist and a generalist matters enormously when the item weighs 250 kilograms.
Why does acclimation matter after a piano move?
Moving a piano changes its environment, and that change affects the instrument’s tuning and structural stability.
Piano materials, including the wooden soundboard, bridges, and pin block, as well as the metal strings and tuning pins, are sensitive to shifts in humidity and temperature. When a piano moves from one property to another, it begins adjusting to the new environment immediately. That adjustment process takes time.
Experts recommend waiting 2–4 weeks after a move before having the piano tuned. Tuning before the instrument has stabilised wastes money, as the pitch will shift again as acclimation continues.
Positioning the piano correctly in its new home accelerates stable acclimation. Place the piano away from direct sunlight, heating vents, and draughty windows. These sources of temperature and humidity fluctuation slow the acclimation process and can cause the wood to expand and contract unevenly.
| Factor | Recommended action | Reason |
|---|---|---|
| Tuning timing | Wait 2–4 weeks after the move | Allows pitch to stabilise in the new environment |
| Sunlight exposure | Position away from windows | Prevents uneven wood expansion and finish fading |
| Heating vents | Keep at least one metre away | Reduces rapid humidity loss around the soundboard |
| Draughts | Avoid external walls and doors | Prevents temperature fluctuations affecting tuning pins |
A piano that acclimates properly holds its tuning longer and requires fewer corrective tuning sessions in the months that follow. That saves money and protects the instrument’s long-term condition.
Key takeaways
Professional piano removal requires a skilled team, specialist equipment, and a structured process from assessment through to post-move acclimation to protect both the instrument and your property.
| Point | Details |
|---|---|
| Team size is fixed by piano type | Upright pianos need at least 4 people; grand pianos need 5–6 to move safely. |
| Measure before anything else | Standard doorways are 30–32 inches wide; an upright piano is 24 inches deep. |
| Never tape the finish | Secure moving blankets with ratchet straps or stretch wrap, keeping tape off the wood. |
| Wait before tuning | Allow 2–4 weeks after the move before tuning to let the piano stabilise. |
| Assessment prevents damage | A 15–20 minute pre-move walkthrough identifies obstacles that cause most removal errors. |
What we have learned from moving pianos across West London
After working with hundreds of clients on piano moves across West London, the pattern is clear. The moves that go wrong almost always share one feature: someone skipped the assessment phase because it felt unnecessary.
A client in Hammersmith once booked a general removal team to move a baby grand. The team arrived without a piano board, measured the staircase incorrectly, and spent three hours attempting a move that a specialist team would have completed in under ninety minutes. The piano sustained a crack to the lid and the client paid twice over for the job.
The advice I give every client is this: treat the assessment walkthrough as the most important part of the move, not a formality. The fifteen minutes spent walking the route with the team is the fifteen minutes that prevents a four-figure repair bill.
Acclimation is the other step that clients consistently underestimate. People want the piano tuned the week after the move. I understand the impulse. But a piano tuned too early will drift out of pitch within days, and the tuner will need to return. Waiting the full 2–4 weeks is not patience for its own sake. It is the practical choice that saves time and money.
The right team, the right equipment, and the right sequence of steps make piano removal straightforward. The risk is not in the piano itself. The risk is in underestimating what the process actually requires.
— West London removals
Piano removal in West London: how Westlondonremoval can help
Moving a piano is not a job to leave to chance. Westlondonremoval handles special moves in West London with trained staff, specialist equipment, and a clear process from the first assessment through to reassembly at your new address.

Whether you are moving an upright piano across Chiswick or relocating a grand piano to Kensington, the Westlondonremoval team brings the right tools and the right people for the job. With over 1,000 satisfied clients and transparent pricing, you know exactly what to expect before the team arrives. Contact Westlondonremoval for a quote and get your piano removal planned with confidence.
FAQ
How many people does it take to move a piano?
An upright piano requires at least 4 people to move safely. A grand piano requires 5–6 people due to its greater weight and the complexity of removing its legs.
Can I move a piano without professional help?
DIY piano removal is not recommended, particularly for grand pianos. The weight, awkward shape, and risk of finish or internal damage make professional piano relocation services the safer and more cost-effective choice.
How long should I wait before tuning my piano after a move?
Wait 2–4 weeks after moving before having your piano tuned. This allows the instrument to acclimatise to the humidity and temperature of its new environment, ensuring the tuning holds properly.
What equipment do professional piano movers use?
Professional piano movers use piano boards, H-dollies, stair-climbing dollies, heavy-duty ratchet straps, moving blankets, and climate-controlled transport vehicles for grand pianos.
Where should I place my piano after a move?
Position your piano away from direct sunlight, heating vents, and draughty windows. These conditions cause humidity and temperature fluctuations that slow acclimation and affect tuning stability.
Recommended
- Arrange furniture removal from an empty property – West London Removal
- The role of removal in an office move: 2026 guide – West London Removal
- Removals Chiswick Removals Chiswick Removals Chiswick removals in Chiswick Removals Chiswick – West London Removal
- What does office relocation involve: a complete guide – West London Removal